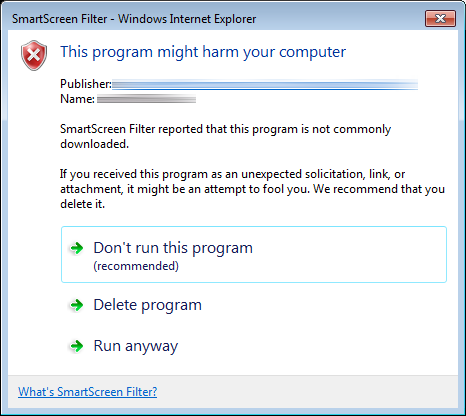
By the end of the last post, we’d managed to sign our application installer with a DigiCert standard code signing certificate using signtool in Windows, but were still being presented with the following dialog:  This was an improvement over the red bar that we’d seen when downloading the unsigned version of the same installer, but the text is still quite daunting for the user. On the basis of a 2011 MSDN article on Authenticode code signing, we then ordered an Extended Validation (EV) certificate from DigiCert in the hope that it would remove the warning entirely when downloading the installer. Specifically, the article notes that:
In August 2012, Microsoft announced support for a new type of Code-Signing certificate, the Extended Validation (EV) certificate. These certificates tend to be more expensive and harder-to-use (requiring security token hardware) but have the benefit of providing faster accumulation of reputation for SmartScreen.
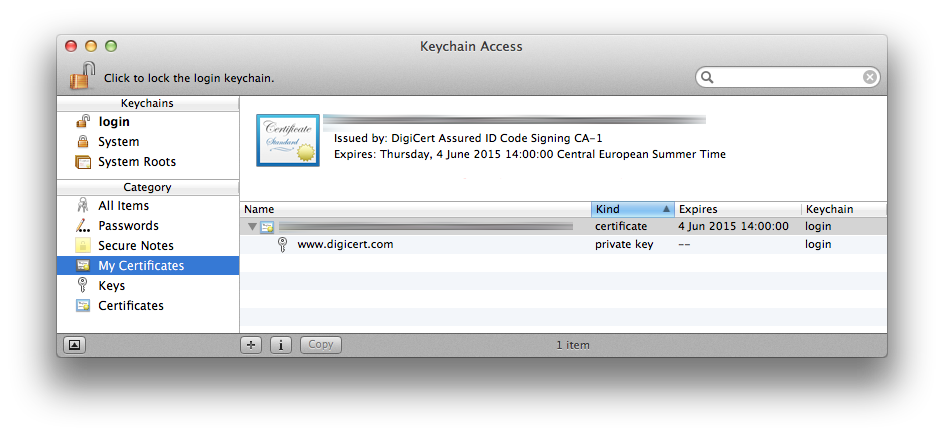
I will point out at this juncture that DigiCert customer service were excellent throughout. We notified them as soon as we realised the standard certificate wasn’t going to meet our needs and they immediately credited our DigiCert account with $223 (for the standard certificate) and didn’t revoke the original certificate until we’d received and activated the hardware token that’s required for EV signing. The EV hardware token, including expedited international shipping was $474 (so an extra $251 over the standard certificate) and arrived within 2 working days of ordering. Incidentally, the hardware token from DigiCert was an eToken PRO 72k (Java) from SafeNet Inc: 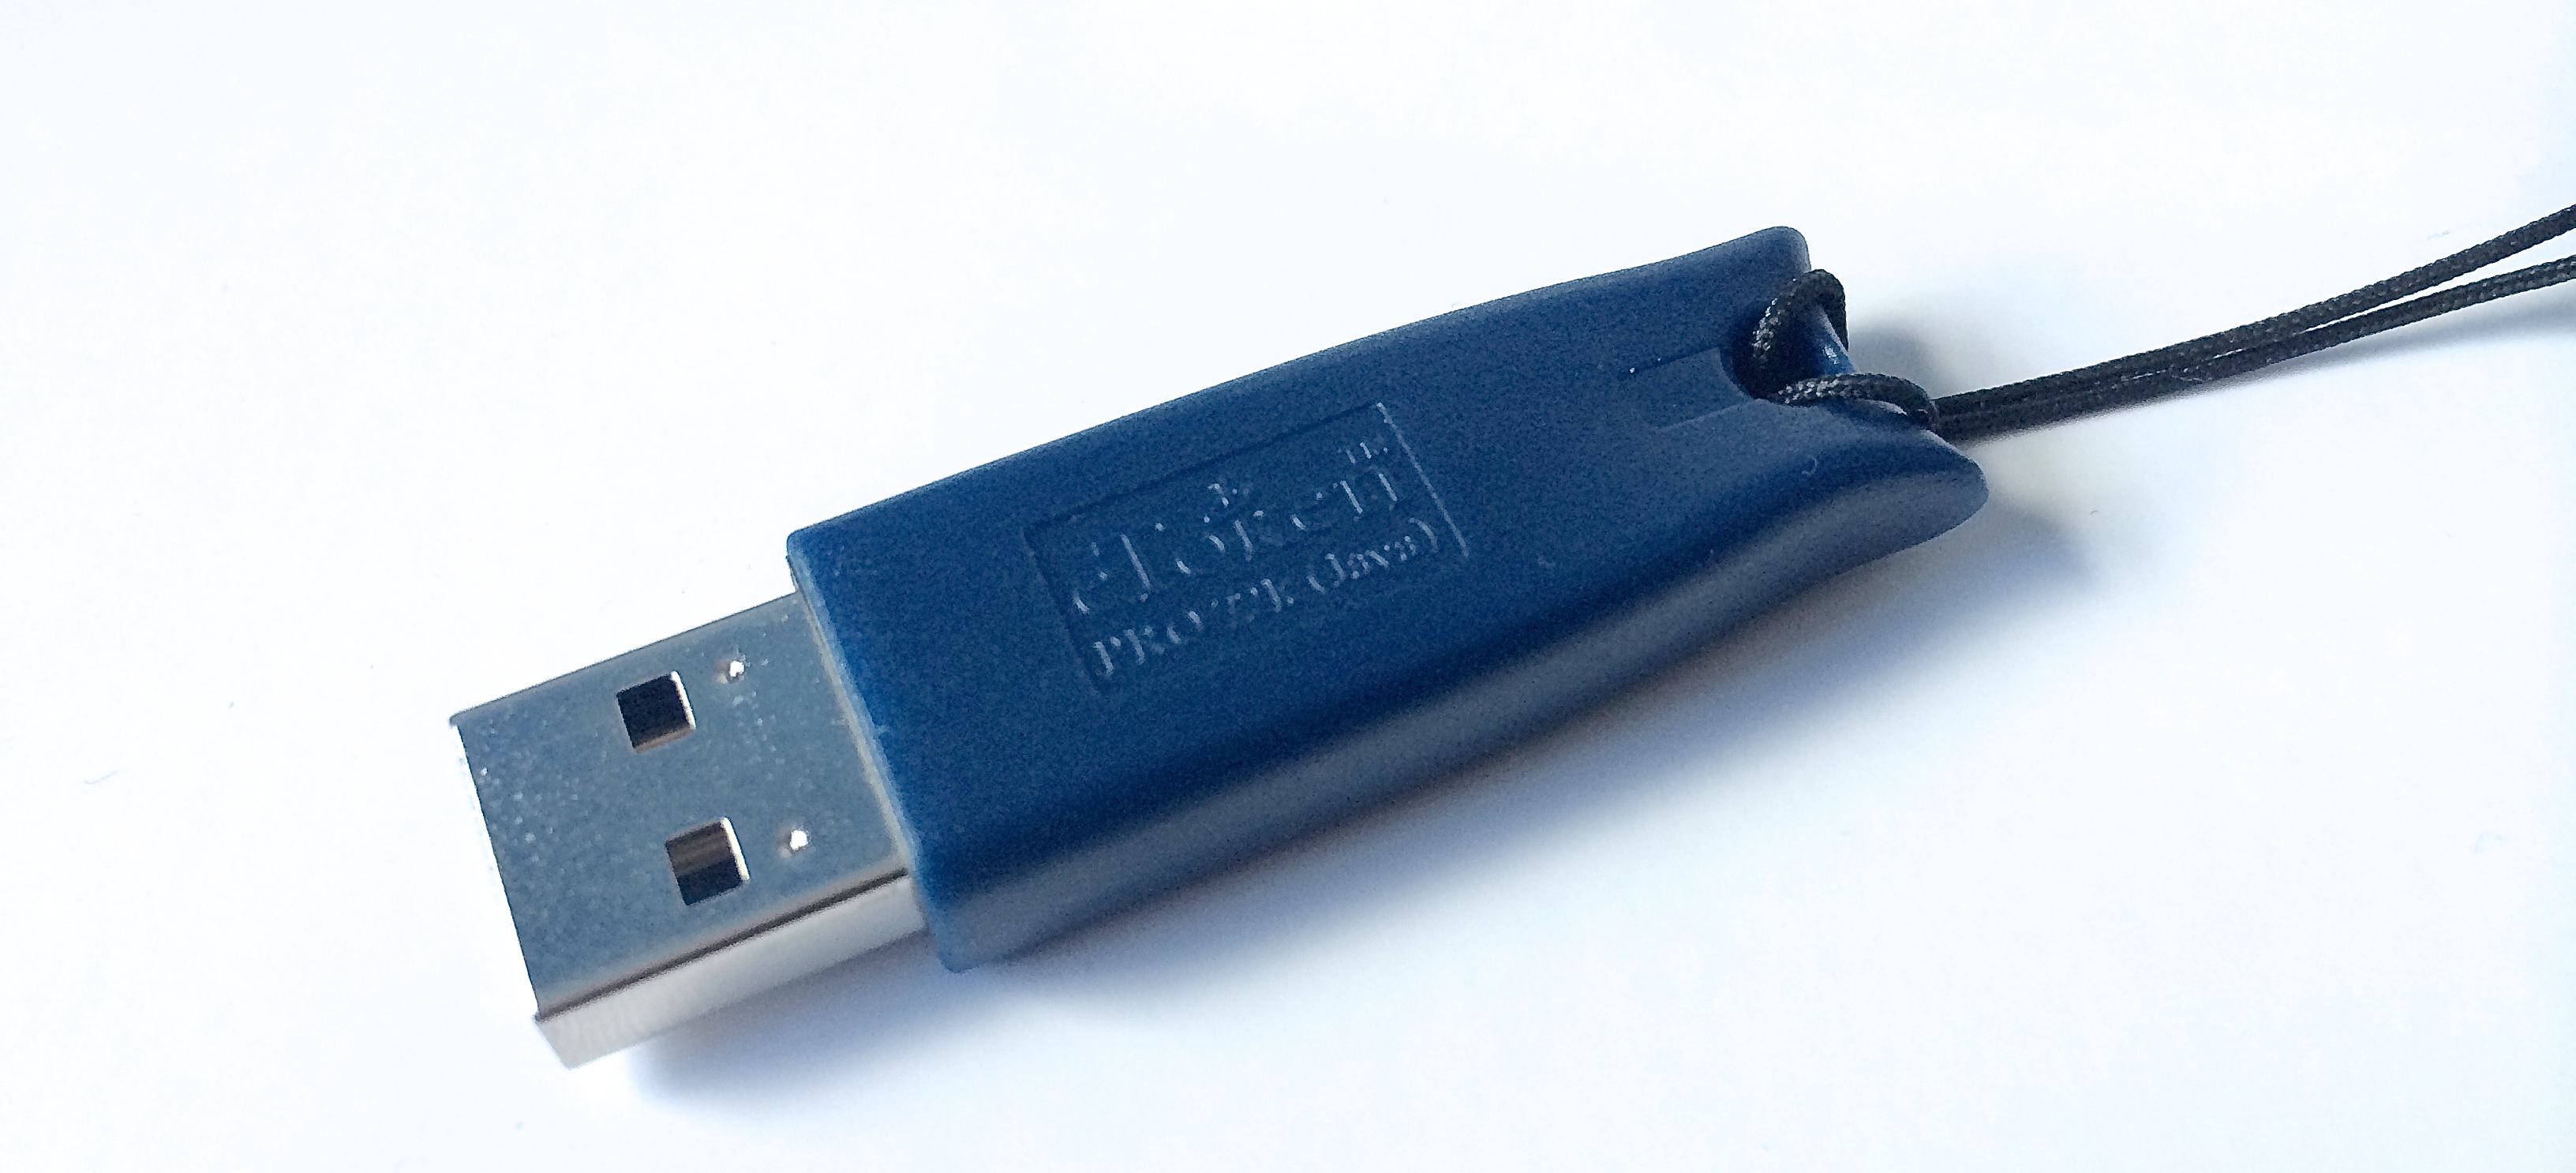 It’s also probably worth noting that we’d read a couple of accounts of having serious problems getting the hardware token to work with Windows running inside a virtual machine. Maybe we were just lucky, but we managed to sign the executable in Windows 7 running inside a VMWare Fusion VM on a MacBook Pro running OS X Mavericks with no issues whatsoever. Without further ado, here’s the procedure for signing a Windows executable using the EV hardware token:
1. Obtain the default token password and install the drivers
On receipt of the hardware token, DigiCert directs you to your online account where you can confirm receipt of the eToken and obtain the factory default password. Note that you are only shown this password once so be sure to record it somewhere. Once you’ve noted down the password, the DigiCert site instructs you to download the SafeNet Authentication Client for Windows. At the time of writing, this was at version 8.2 and weighed in at 49 Mb. A standard installation (as opposed to a BSec-compatible installation, which includes legacy iKey support) adds the SafeNet Authentication Client Tools to the Start menu.
With the SafeNet Authentication Client installed, plug the hardware token into an available USB port. As a brief aside, the token identifies itself as a composite USB device (Class 0) with a VendorID of 0x0529 (Aladdin Knowledge Systems) and a ProductID of 0x0620. The main interface of the composite device is Class 11: Integrated Circuit Card Interface Device (CCID). Typically, Class 11 devices have a slot for a smart card (or Integrated Circuit Card in USB parlance), but in the case of the hardware EV token, the card is effectively integrated into the device, as indicated by the “00000000” in the dwMechanical field of the USB device descriptor:
| dwMechanical bitwise operand | Meaning |
|---|---|
| 00000000h | No special characteristics |
| 00000001h | Card accept mechanism |
| 00000002h | Card ejection mechanism |
| 00000004h | Card capture mechanism |
| 00000008h | Card lock/unlock mechanism |
2. Change the default token password
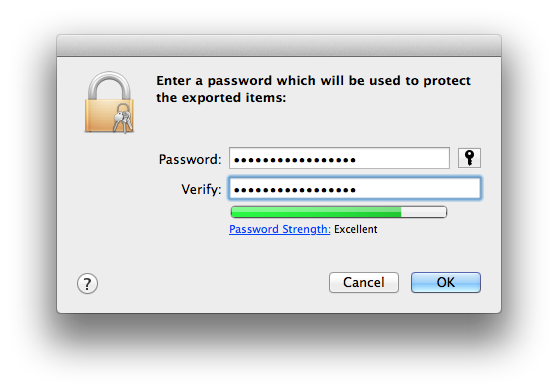
With the hardware token plugged in, select the “Change Token Password” option from the main menu of the SafeNet Authentication Client, enter the factory default password in the “Current Token Password” field and enter and confirm a new password of your choosing in the “New Token Password” and “Confirm Password” fields. The token we received had hard-coded password requirements of between 8 and 16 characters and a “complexity requirement” of at least three different character types (of the four possible: numerals, lowercase characters, uppercase characters and special characters).
3. Sign the installer or executable
Once you’ve changed the token password, leave the token plugged in and open the Windows certificate manager by pressing Windows-R, typing certmgr.msc and pressing enter. The certificate on the hardware token should appear under Certificates – Current User > Personal > Certificates:
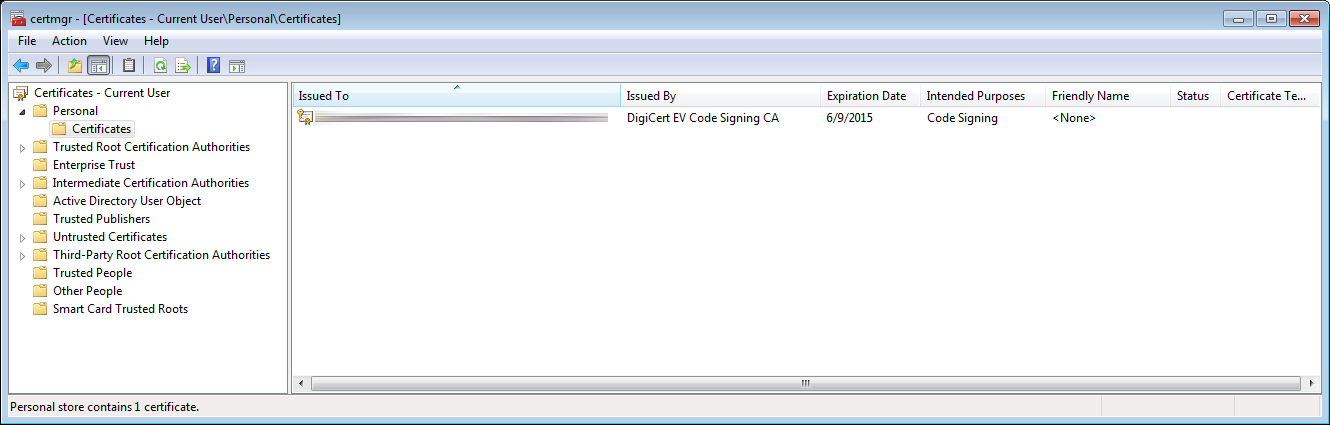 Make a note of the exact text that appears in the “Issued To” column.
Unless it’s already on your PATH, open a prompt and navigate to the directory containing your version of signtool (by default, this is C:\Program Files\Microsoft SDKs\Windows\v7.1\Bin with version 7.1 of the Windows SDK) and invoke signtool with the following options:
>signtool sign

/t http://timestamp.digicert.com

/n "Exact text from the Issued To column" "C:\path\to\the\executable\you\want\to\sign.exe"
The SafeNet Authentication Client should then present a dialog asking for the hardware token password set in step 2 and, assuming the correct password is provided, you should then see the following text in the command prompt:
Done Adding Additional Store

Successfully signed and timestamped: C:\path\to\the\executable\you\want\to\sign.exe
And that’s it! The signature can be verified, as with the standard certificate, by selecting the executable in Windows Explorer, selecting File > Properties and switching to the Digital Signatures tab, under which the timestamped signature should be listed.
Conclusion
The outcome with the EV certificate-signed installer is much more user friendly than with the standard certificate: Clicking “Run” results in the download starting, the text being replaced with “Running security scan” and the installer running immediately on the user’s computer. Success!