I’ve just successfully implemented my first “delegate” (and indeed datasource) object in Cocoa, so this post is mostly a result of my excitement for actually making something work. However, making this work is actually not very impressive at all, but I’m still happy, especially when I consider that I didn’t know what a delegate was until last week :)
There’s a great article here that describes what a delegate is, that is:
A delegate is an object which is able to influence the behavior of another object by responding to delegate messages. A class that uses a delegate has a “delegate” instance variable and defines a number of “delegate methods”. An instance of that class will then send delegate messages to its delegate for help on deciding how to behave.
In other words, delegation allows for one object to ask another object to do something on its behalf (much like a delegate in real life). Delegation can, therefore, be a simple alternative to subclassing — rather than implementing a whole new class to customise an object’s behaviour, simply have a delegate object sign up to be invoked when the custom behaviour is required.
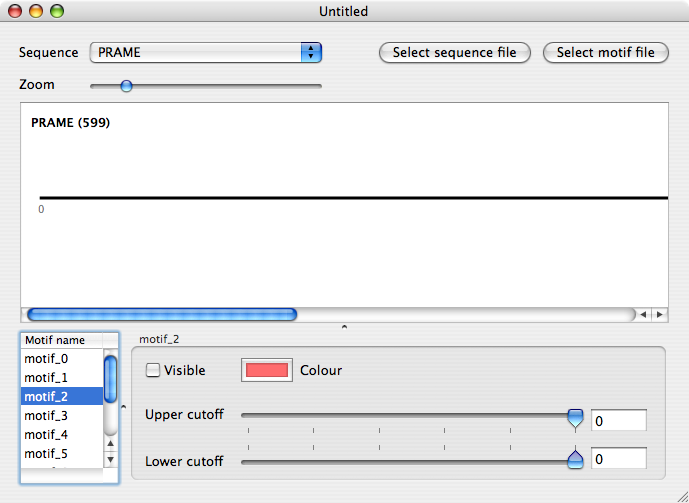
The delegate object in this case was my view controller, which needs to respond to the user selecting a different line in my NSTableView. The way to do this involves only 2 steps:
- implementing the method – (void) tableViewSelectionDidChange:(NSNotification *)notification
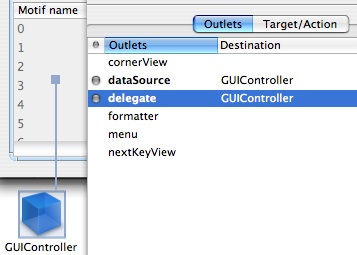
- connecting up the controller object as the delegate in Interface Builder
In my case, the first stage did literally involve just adding the following code (for now) to my view controller class:
- (void) tableViewSelectionDidChange:(NSNotification *)notification {

    int currentRow = [motifList selectedRow];

    if (currentRow == -1) {

        return;

    }

    [motifName setTitle:[self tableView:motifList objectValueForTableColumn:motifNameColumn row:currentRow]];

}
The only vaguely interesting bit here is that I send the message tableView:objectValueForTableColumn:row: to self. This is because my view controller is also the datasource for the very same NSTableView. motifName, in case you’re wondering is an NSBox.
The second stage is even simpler and involves control-dragging from the NSTableView to the controller object in Interface Builder and selecting the delegate outlet, as shown here:
Implementing the same object as the NSTableView datasource is even simpler, involving only the addition of the following two methods from the (appropriately-named) NSTableDataSource class:
- – (int)numberOfRowsInTableView:(NSTableView *)theTableView
- – (id)tableView:(NSTableView *)theTableView objectValueForTableColumn:(NSTableColumn *)theColumn row:(int)theRow
In my case (where I’m pulling values from an array) it’s just a case of returning [array count] and [array objectAtIndex:theRow] respectively for those methods. That’s all for now!